 |
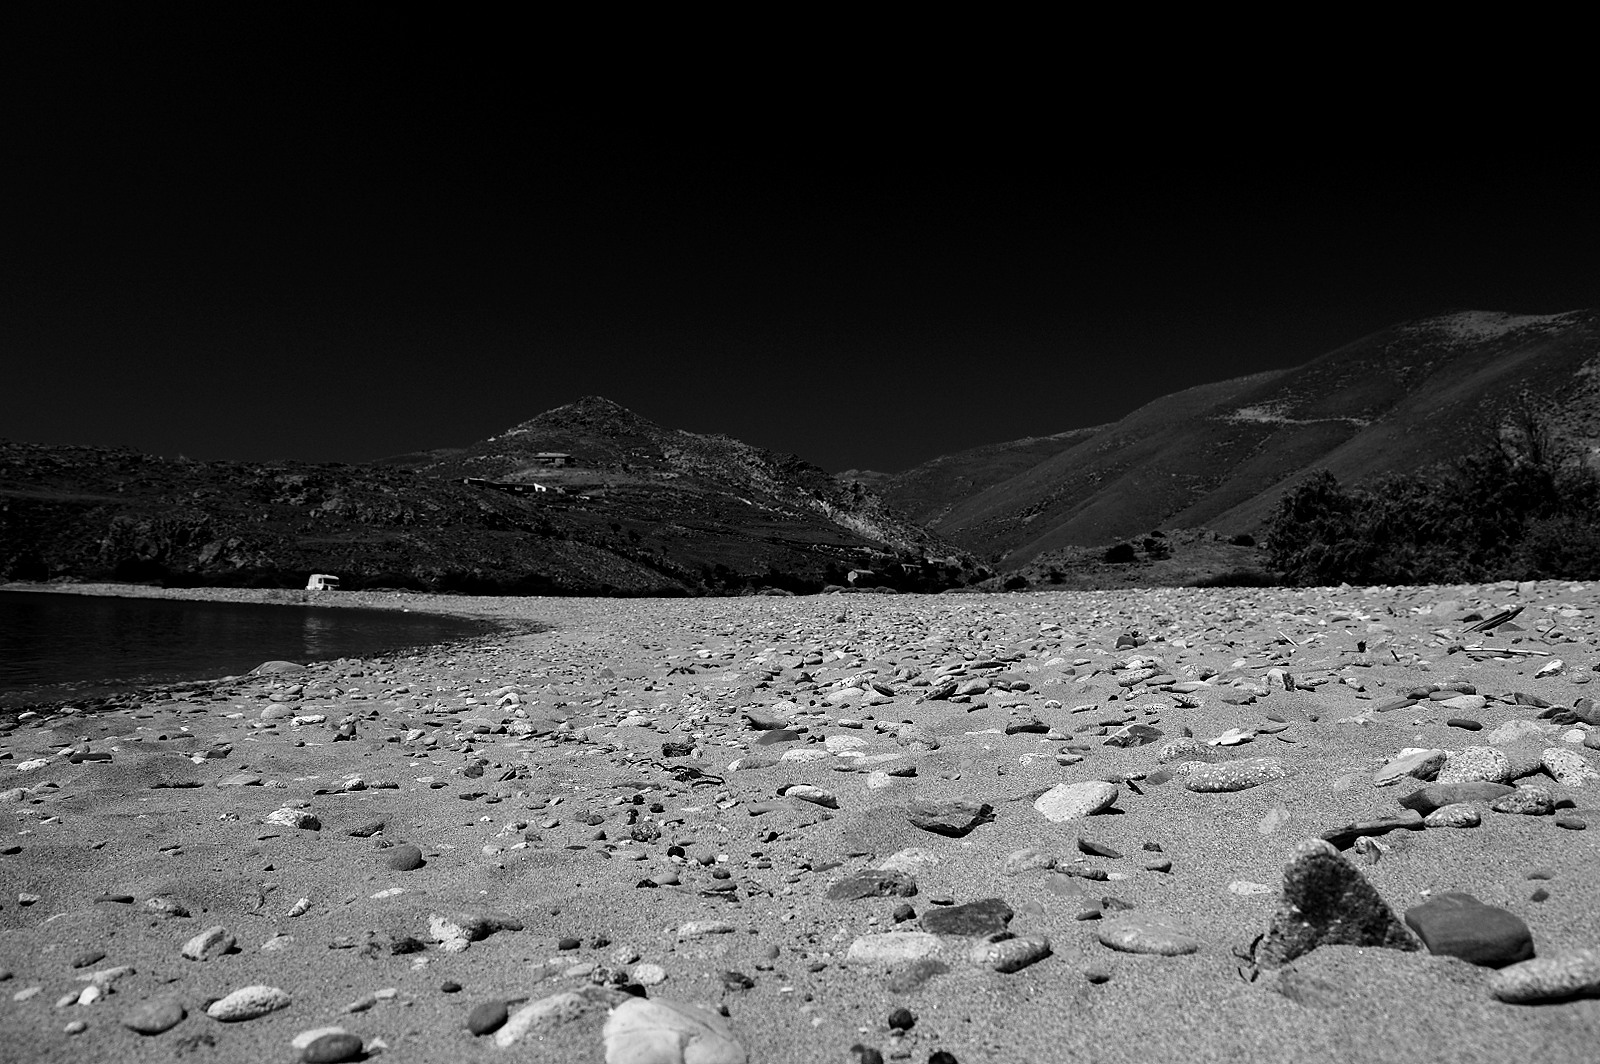
| Deep black-and-white images can have great affective power |
The first step, as I already implied, happens well before you approach Photoshop and in fact before you even take the photo. Selecting the scene is crucial.
- Pick a scene/location where the sun is above and slightly behind you but there is a reflective (usually white or light-colored) area
Of course, for the sun to be above you, you realize that there is a temporal element as well.
- Shoot during noon hours.
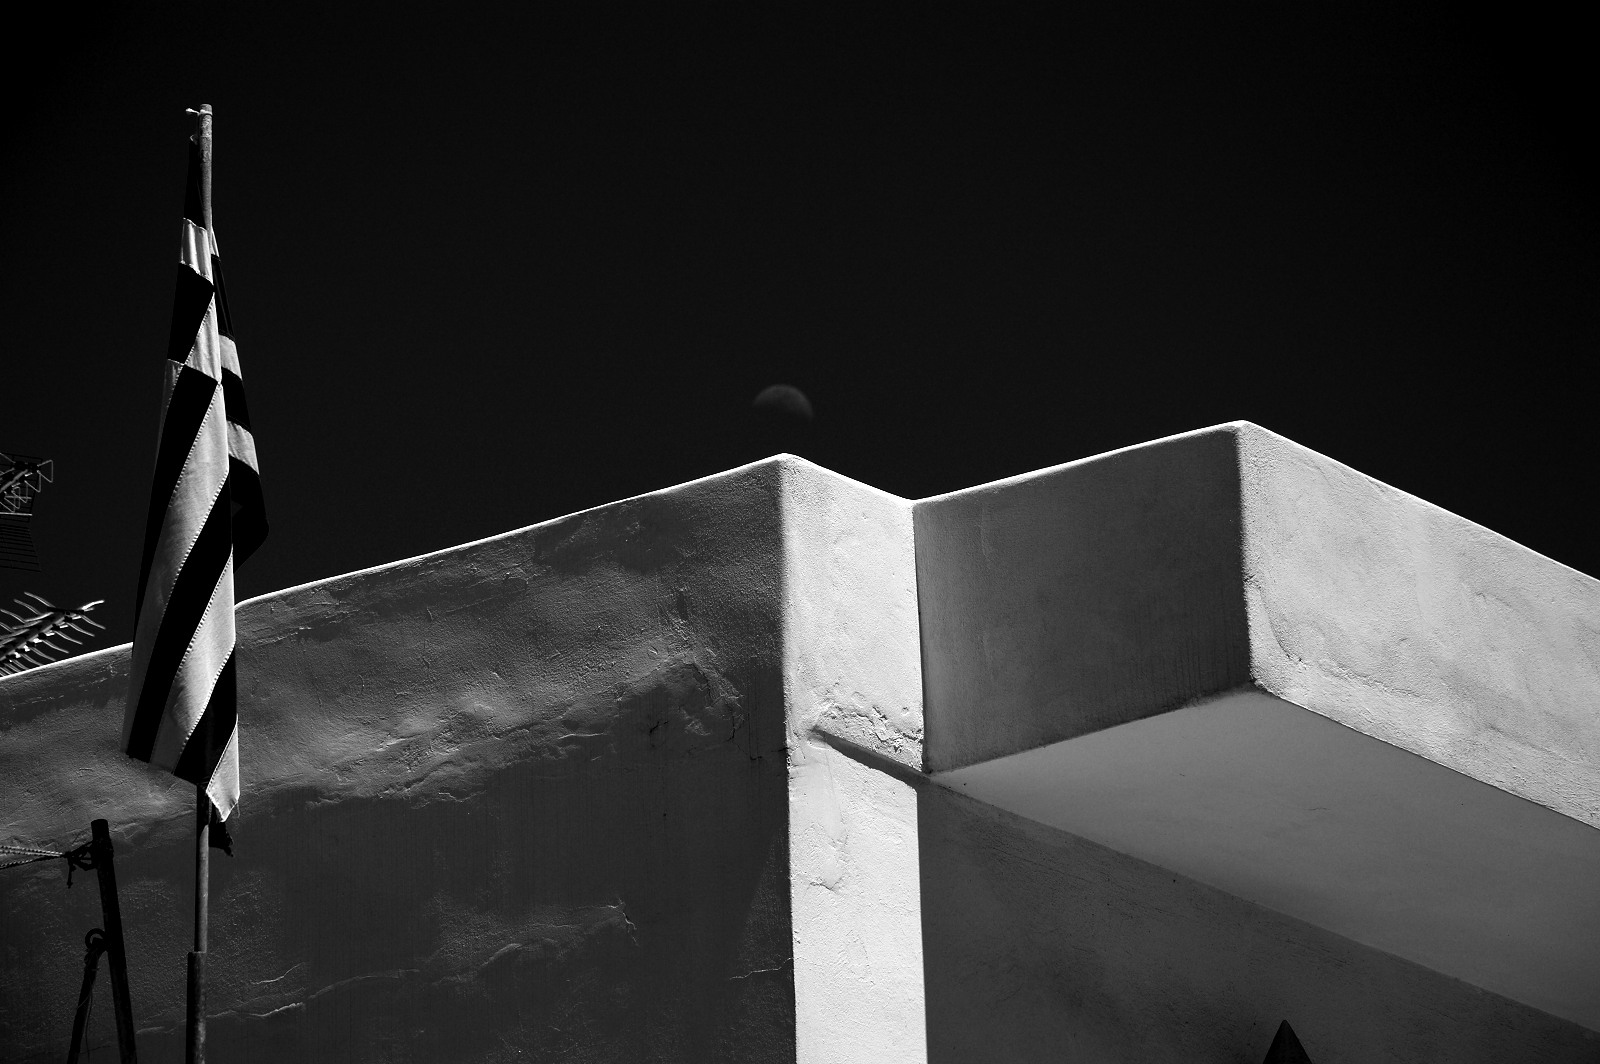 |
| Greek architecture offers many opportunities for this kind of photography |
With location & time taken care of, you then have to deal with taking the photo. That is, with exposure.
- Expose for the brightest area and err on the side of underexposure
Camera settings don't really matter, as long as you shoot raw (and you should). The out-of-the-camera image you should be getting following my advice would be something like this:
 |
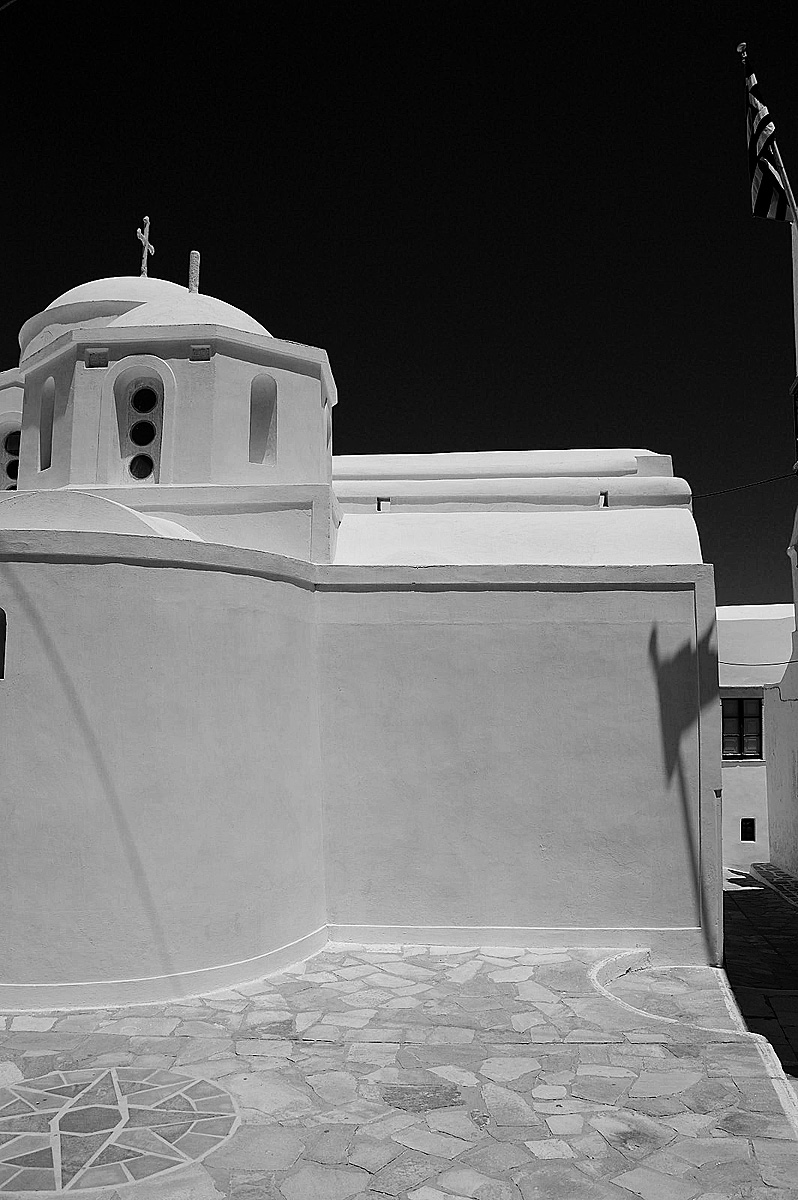
| Slightly underexposed, preserving detail in the foreground, just as we wanted |
The rest is easy.
- Open a copy of the image on Photoshop
- Click on the "Channels" tab and delete the blue and green channels.
- Go to the menu Image > Mode and select "Grayscale"
- Click the "Layers" tab and add a curves adjustment layer
- Adjust contrast to taste. Don't be afraid to aggressively block the shadows
- Finish with some sharpening
Final result:

No comments:
Post a Comment