So, let's begin!
Note: the instructions are based on my PC-based version of Photoshop CS2. You can adjust accordingly for other versions, programs, or platforms.
Step 1: Open a copy of your image (always a good idea not to work on the original).

Step 2: Duplicate the layer
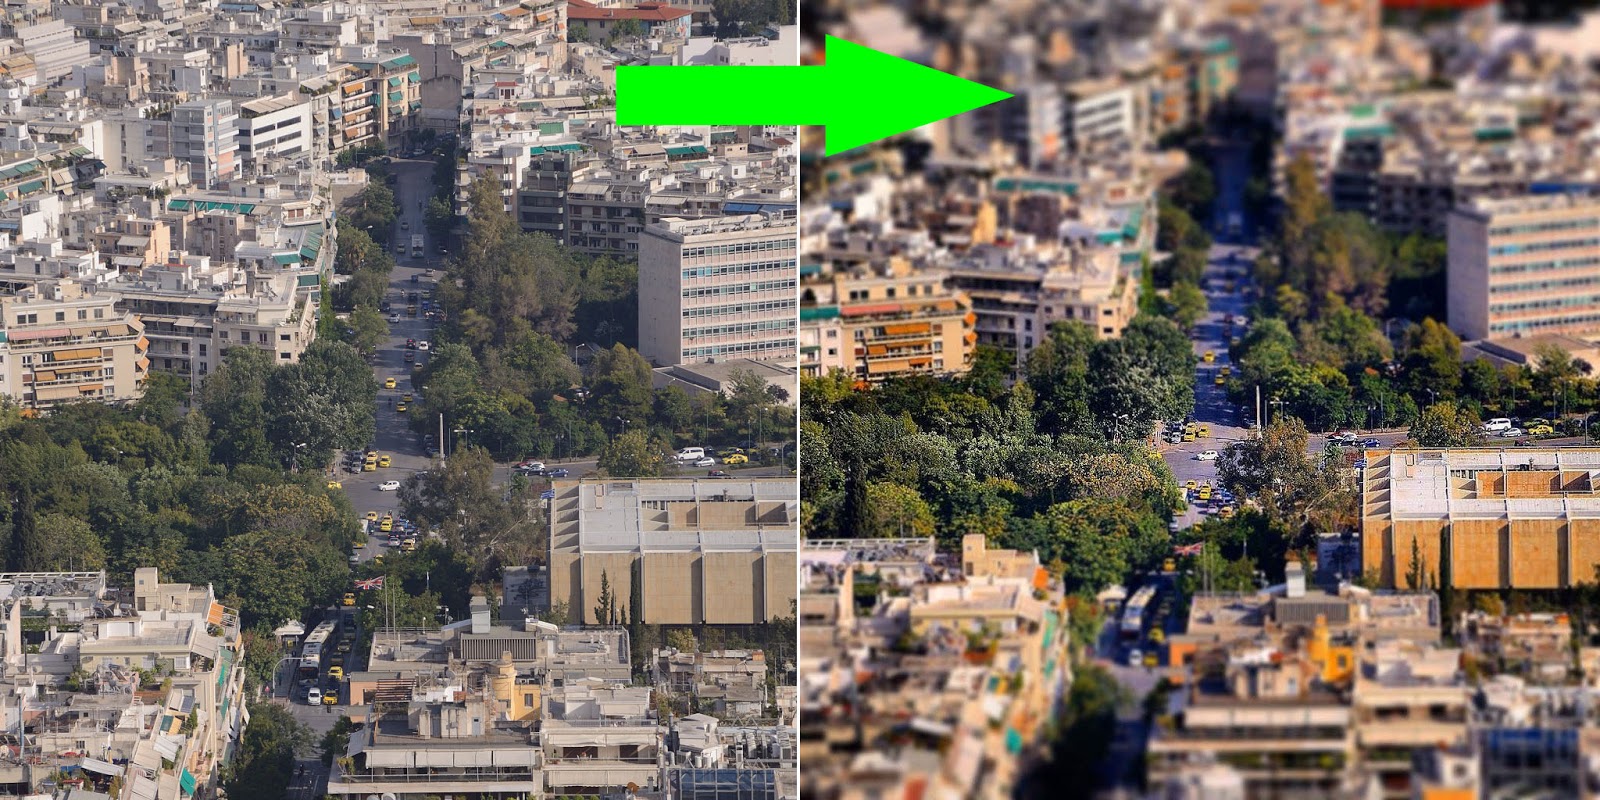
Step 3: Go to Filter > Blur > Lens Blur
Step 4: You can experiment with the settings, but the "Radius" is the one that controls the blur. I usually pick 20

Step 5: Apply a new mask and click on it. We're now working on the mask
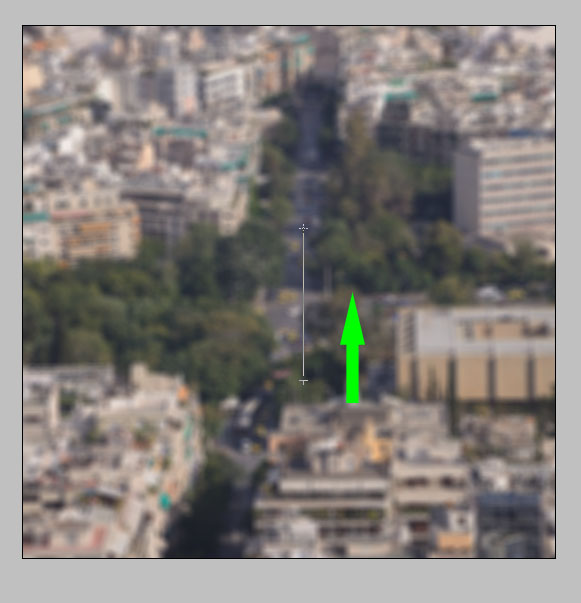
Step 6: Select the gradient tool (use the black/white combination and the reflected linear gradient shape - so that there is a black-white-black shape; on the gradient list it's the 2nd from the right)
Step 7: Draw a gradient keeping in mind that this will be the area which will simulate the focus area. You'll understand it better when you see it on your example. Here's a screenshot of my own gradient (I added the green arrow to show you the direction; if you get an image that the blur is in the middle while the top and bottom are in-focus, it means you did it in reverse - swap the foreground and background colors from black/white to white/black)
Step 8: You're basically done, but in order to enhance the appearance of the image as a miniature, increase the contrast and saturation (quite a lot) until it looks fake and plasticky
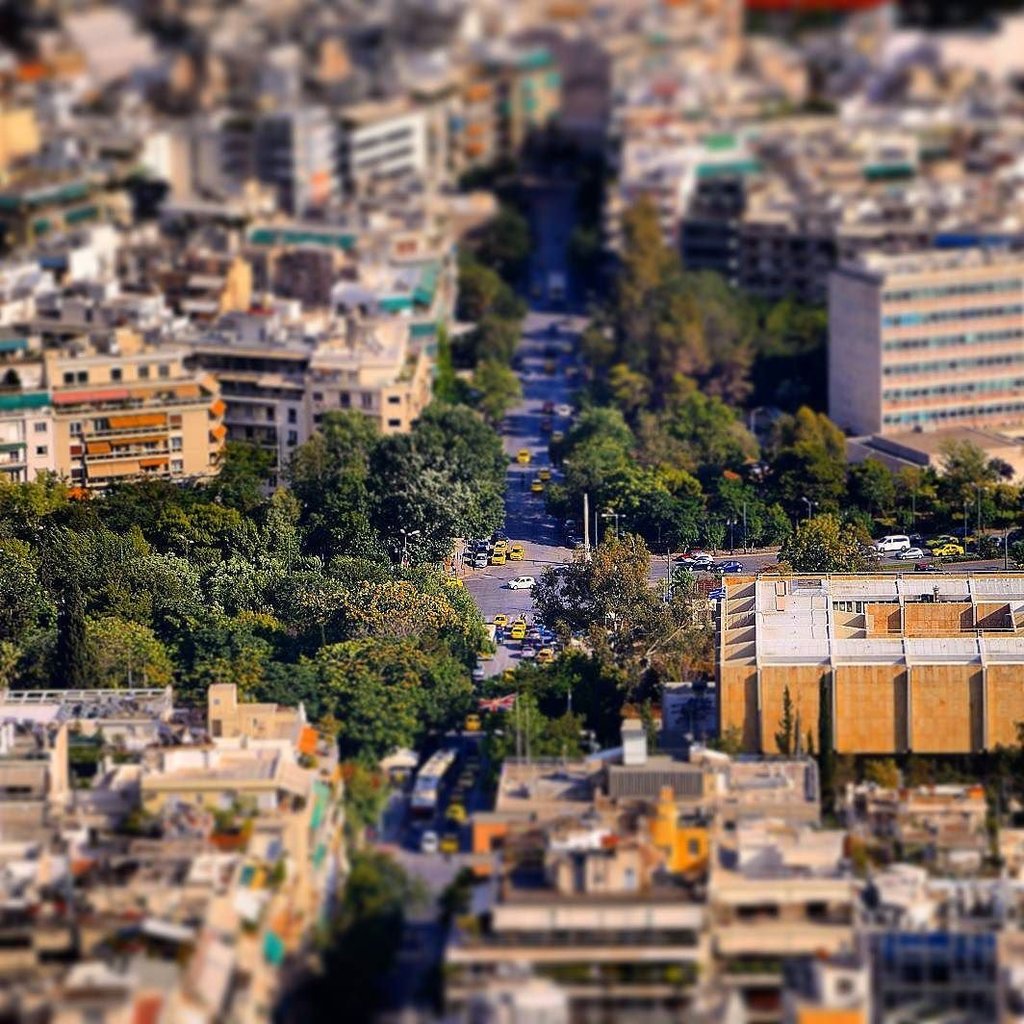
As a final note, let me remind you that the best candidates for the procedures are images that are taken from a high elevation, such as the one in our example.

No comments:
Post a Comment