First of all, let's simplify things a bit. The Fibonacci Spiral is, in the end, just a shape:

Nothing more, and nothing less. Sort of...
The thing is (and now I'm simplifying things a bit), this shape is an expression of something called the Golden Ratio. It's a sequence of numbers, basically.
The important thing, and the reason why we're talking about this today, is that all great works of art, from the Parthenon to the Renaissance paintings, are composed taking this ratio into consideration. In fact, the Rule of Thirds is itself a simplified version of this.
At this point you might ask two things:
a) what does it mean, practically, to take the Fibonacci Spiral into consideration for photography?
b) how do you use it?
Basically it's the same question, really. Allow me to display with a photographic example. Take a look at the two pictures below and try to think which one you prefer (essentially they are different crops of the same original image):
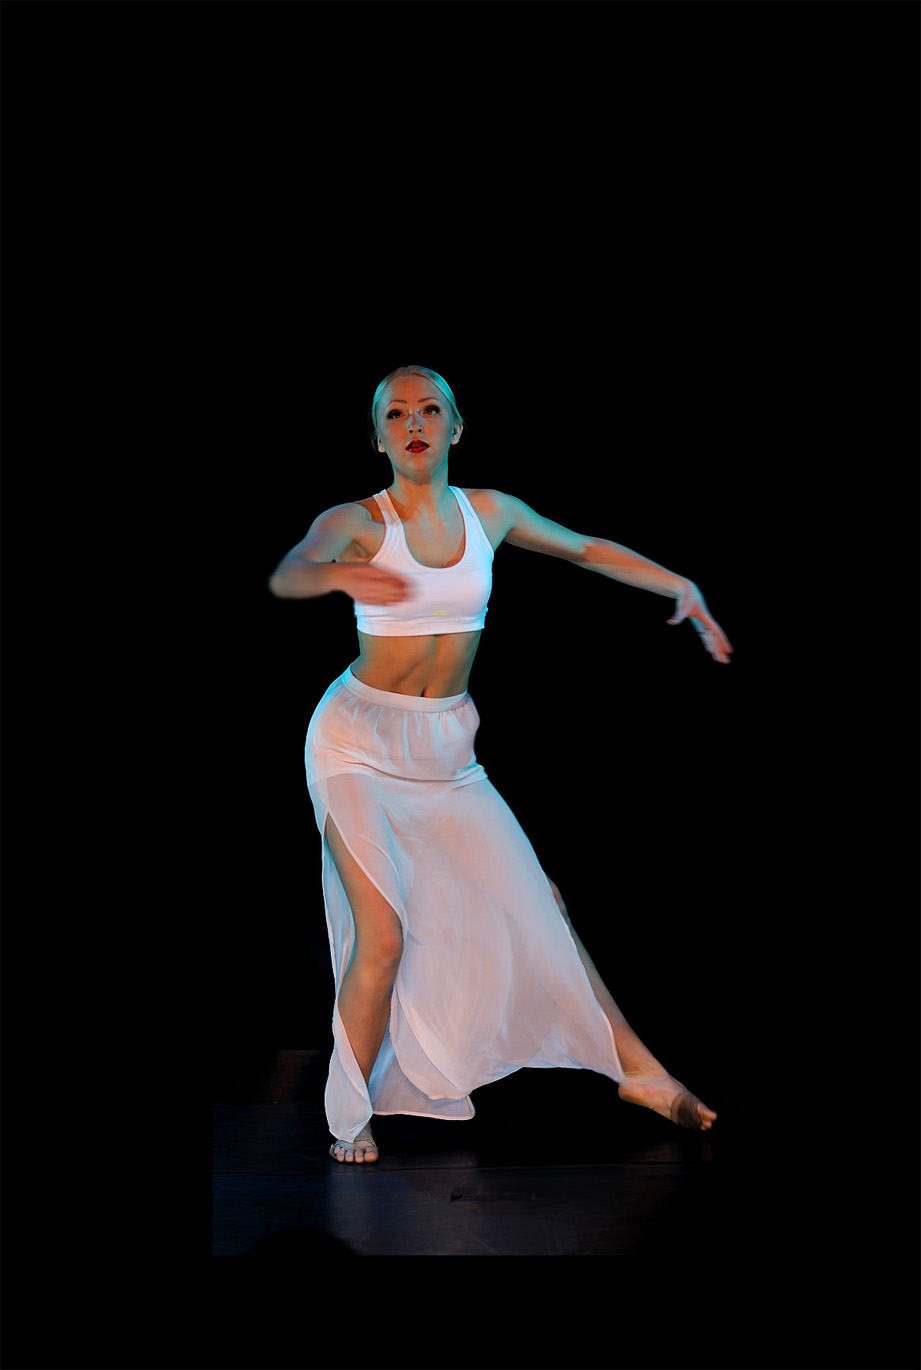

You might have read somewhere that it's not a good idea to place your subject in the center of the frame. It's generally true (remember, however: any "rule" of composition is only a suggestion; different situations call for different options). And so, I expect that most of you prefer the bottom image. The reason is that the subject is not centered, and hence the composition has a much better "flow" to it.
But where does the Fibonacci Spiral come to all that? Well, take another look at the images, this time with the spiral superimposed
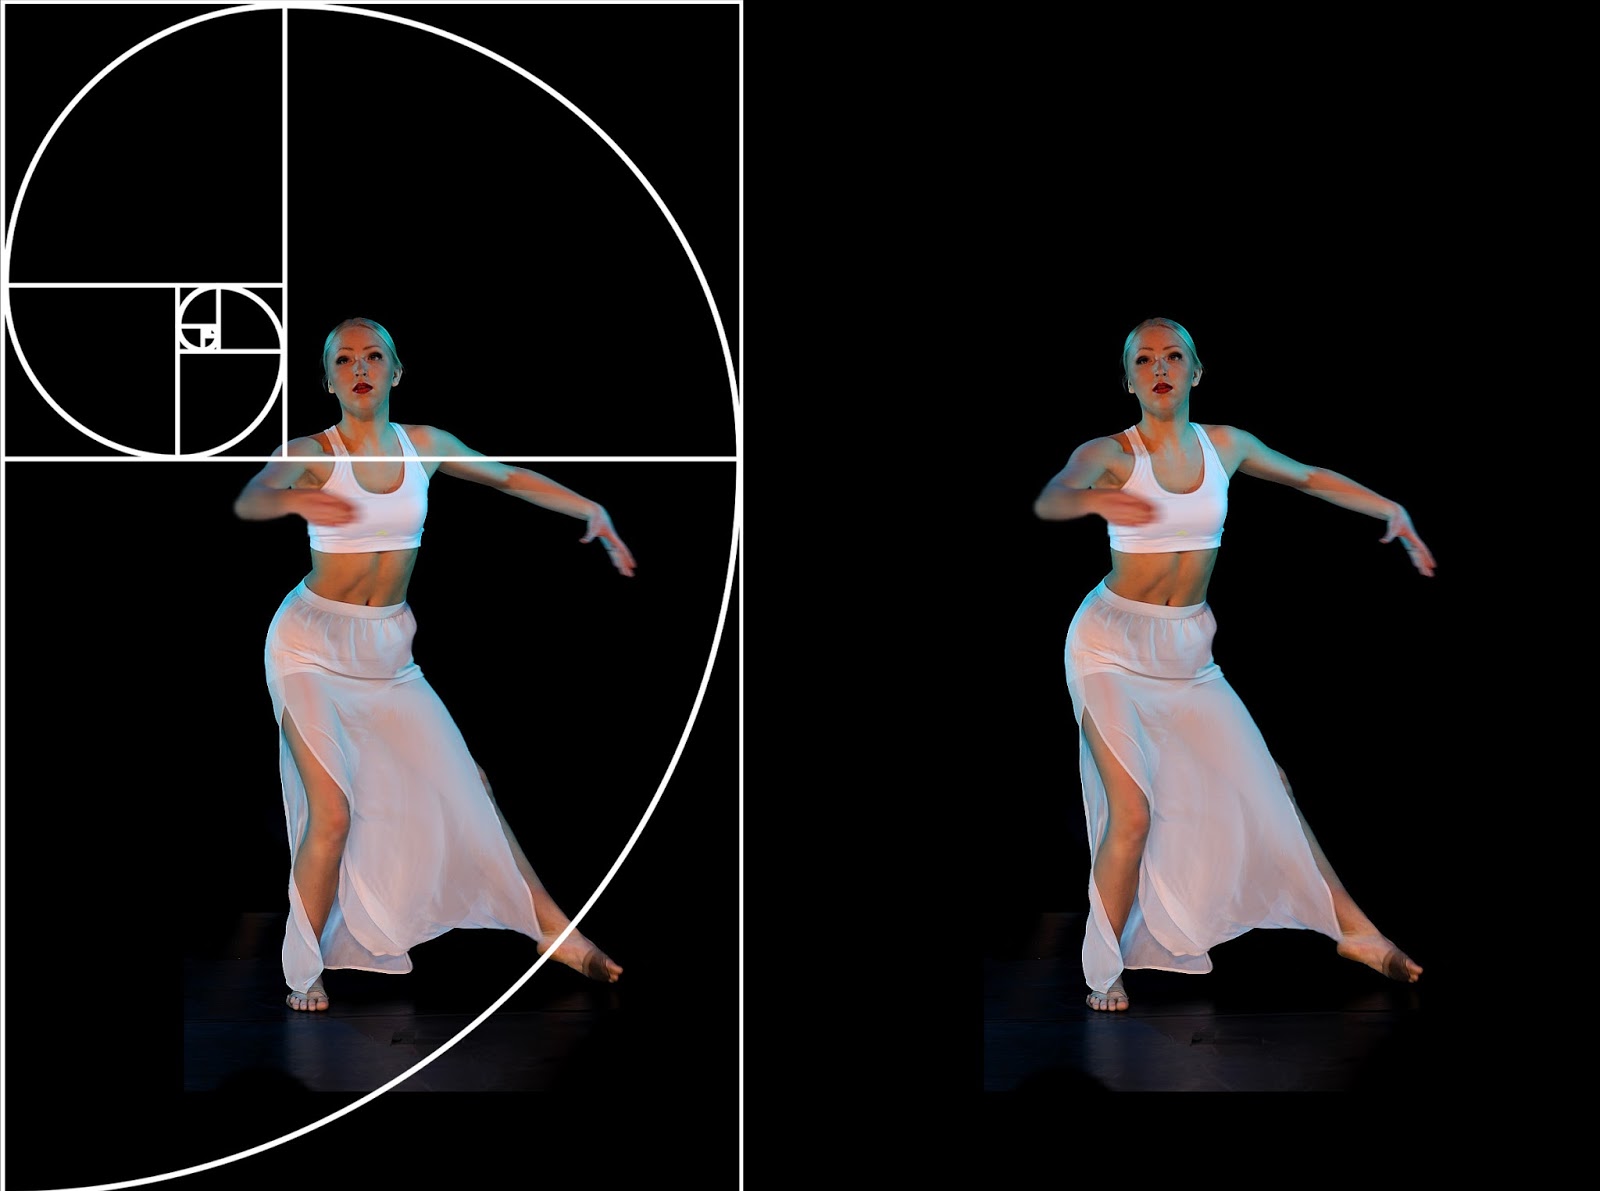

See what happens?
On the top image, the Fibonacci Spiral does not begin from any point of interest. Indeed, its head (the more narrow curve, with the smaller boxes inside) is on the black background. Notice, however, how on the bottom image the spiral head begins from the dancer's own head - indeed from its very center - and then spirals out, almost looking as if it displays the flow of movement of the dancer herself, enveloping her arm and foot.
So, how do you use the Fibonacci Spiral in your Photographic Composition?
Well, you perhaps now begin to see the potential. Of course, the ideal way to use it is developing the experience to "see" it while
But even if you can't (at least at first) apply it while shooting, you can at least use it as a cropping guide. Paste a Fibonacci Spiral as a top layer (depending on your composition you might need to invert it from white to black or vice-versa, or rotate/flip it) and use it as a guide to crop your image in a more attractive way.
Again, however, I must repeat the usual warning: "Rules" in photography are there to guide you, not to dictate what you should do. This, like any other such "rule", shows you how to get a harmonious composition - this might or might not be your goal.

No comments:
Post a Comment