People grow up photographically learning bad habits about flash photography.
You see, the worst possible way to use a flash is to use a direct, head-on flash at night, trying to illuminate a subject relatively close to the camera. Especially with an automatic flash (like most compact cameras or mobile phones have) that will simply bathe the subject in light, leaving everything else in the dark. That is the black hole effect: an overexposed subject, with shiny hair and skin, as well as harsh, unflattering shadows, and dark, severely underexposed surroundings.
Flash photography, truly artistic and innovative flash photography, is a far more complicated issue. Whole books have been written about it:


This article will not attempt to teach you excessively complex setups (perhaps a future article series might allows us to say more about flash techniques); instead, with today's article, I want to give you 5 simple and concrete tips for instantly better pictures. I have tried to construct the tips so that both beginners and advanced photographers alike can find them useful. I assume only one thing: you have a Nikon DSLR and an external flash. That's all. No 5-flash setups, no umbrellas.
This article will not attempt to teach you excessively complex setups (perhaps a future article series might allows us to say more about flash techniques); instead, with today's article, I want to give you 5 simple and concrete tips for instantly better pictures. I have tried to construct the tips so that both beginners and advanced photographers alike can find them useful. I assume only one thing: you have a Nikon DSLR and an external flash. That's all. No 5-flash setups, no umbrellas.
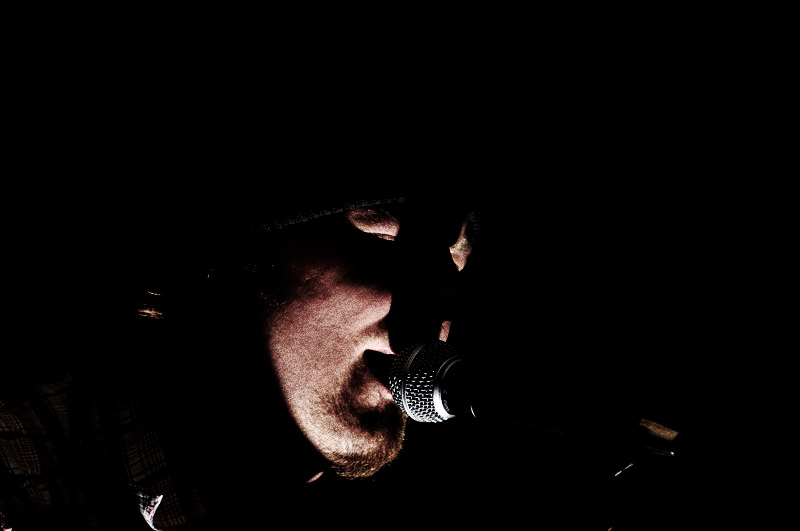 |
| Mastering flash photography is a major element of success in a variety of situations |
- Bouncing is the single most important thing you need to know about flash photography. By that, we mean that you don't use the flash output head-on, but instead you bounce it off the ceiling or a wall.This creates a far more pleasant result, as it softens the shadows and evens the illumination of the scene. Obviously enough, it's supposed to be used in indoor spaces.
Tip for Advanced Users: Bouncing (especially off a ceiling) means you will have some problems illuminating the face of your subject. Use a bounce card to direct some of the light forward.
- Adjust the power for fill flash. This is a tip for beginners and advanced users alike: most people don't realize that fill flash is not meant to be used at full auto without any other exposure compensation. The reason is, most cameras will throw too much light at the subject. The result will be somewhat unnatural. The idea is to balance the light so that the viewer of the photo is not totally aware that there's something artificial going on. The quickest thing to do is to dial in - 0.7 flash exposure compensation. Depending on the situation, you can even experiment with the value a bit.
- Use a large diffuser. It doesn't have to be anything expensive. This one for example is just fine:
It's easy to carry, it takes seconds to attach on your flash, and it really doesn't cost much. Use this when you are shooting portraits outdoors, where you can't easily diffuse the flash output (i.e. there is no wall/ceiling to bounce off).
- If your flash has a zoom feature, learn how to use it! Most but the cheapest external flashes have a zoom function. This can be automatic or manual - when it's automatic, the flash will zoom according with the focal length of the lens attached. But you can override it; you should learn why and when to do so. This becomes particularly important with remote flashes (see tip #5) but also used on-camera it can have a difference. The basic rule to remember: the wider the zoom, the more even the illumination; the longer the zoom, the more concentrated.
- Remote Flashes. This is where the fun begins, but so is the complexity. For this reason, I'll stop with this point and won't get into excessively complex details - I promise to offer you another list, with more advanced tips on remote flash photography at some point. For now, here's a quick list-within-list of things to keep in mind if you want to use your flash remotely:
a) Your external flash must have a 'slave' capability (that is, it can be used remotely). Here are some suggestions from Nikon (I'd advise against using 3rd party flashes for complex setups):
On a budget, also consider a used SB-600 or an SB-800. They're fine flashes, I still use mine - although, not because they are better than the newer offerings; simply because I'm too lazy to replace them :D
b) Your camera must have a flash that works in 'commander mode' (see your camera's manual). All FX models have that. With DX, you need an upper-level body, such as a D7100. On a budget, get a used older model, such as a D7000, D300/D200, D90/D80.
c) Positioning your flash remotely (that is, away from the camera), the zoom factor we talked about before becomes far more crucial. To see how this works in practice, place the flashgun on the side of your subject, at a distance of about 3m/10ft. Select the widest value (usually it's 24mm, but if you lower the build-in plastic diffuser, the indication can become 14mm) and try it. Now, don't change the placement of either camera, flash, or subject, and select the longest value (in some flashes 85mm, in others 105mm, etc). Make sure to aim carefully so that the flash head is aligned with your subject. Try it again. See the difference?
d) Lighting decision: You get an entirely different result if you use your external flash remotely without any input from the on-board flash. Experiment with values, to achieve a balance between the two flashes (if you so wish).

As I mentioned earlier, flash photography is a quite complex kind of photography, so we'll get back to it with a future article (or series of articles).

No comments:
Post a Comment