But as many beginners soon realize, macro photography is not an easy task. Perhaps because they are often used to taking macro photos with a compact camera, which involves entirely different dynamics, when they attempt to do the same with a DSLR, they painfully realize that some things are suddenly much more difficult. The in-focus zone is extremely thin; the tiniest movement can cause blur; and composition suddenly becomes much more problematic.
The general rule of thumb is this:
The closer you get to 1:1 magnification, the more difficult it becomes
At 1:1 magnification ratio, the tiniest detail in composition (a darker stem; a faded shade of color on a petal) can make it or break it. Not to mention, at 1:1 there is no room for hand-induced blur and the depth of field is very, very short.
So, here are 5 simple but incredibly efficient and important tips, that will help you get the best of your macro photos:
1. Start with stationary objects
Most beginners associate macro with insects - they have seen incredible photos of bug eyes, spider legs, and what not, and they want to do the same. It's definitely something to aspire to, but these are extremely complicated photos, involving a lot of hard work, experience, and the necessary element of luck. Until you master your skills, start with stationary subjects. There is a whole world waiting already at home, you don't need to go further away from your kitchen
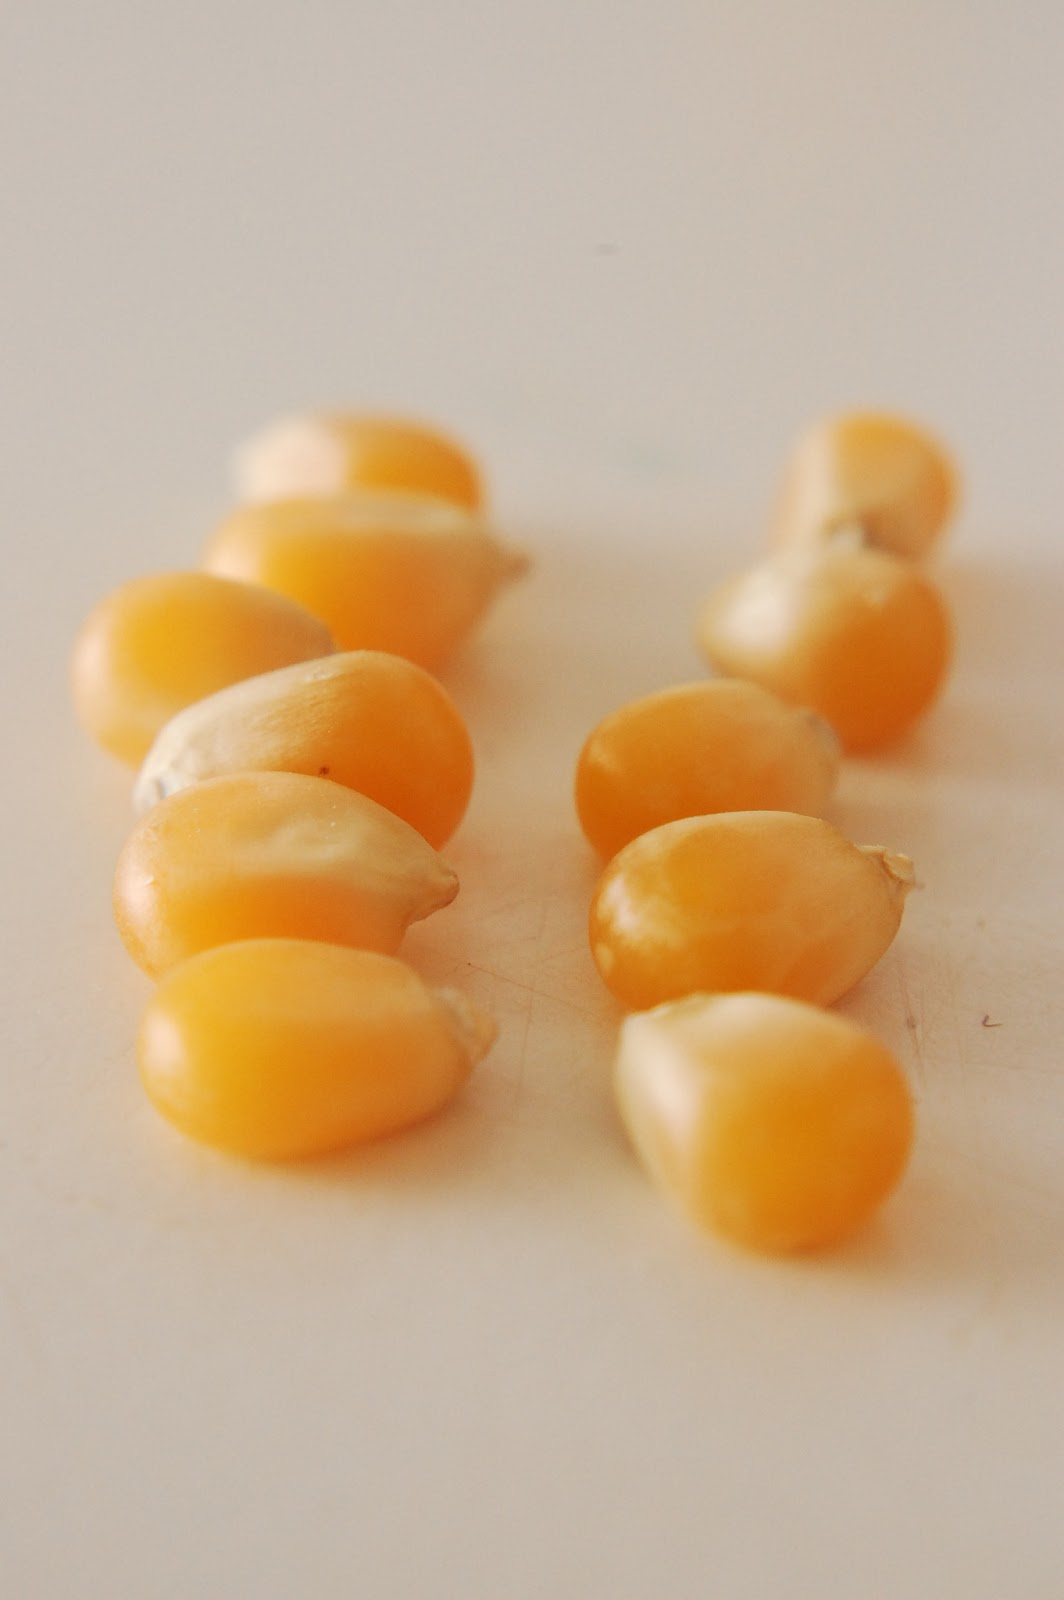 |
| You don't need to go farther from your kitchen to find intriguing macro subjects |
I can't emphasize this enough! Forget all the 1/focal length rules. At this magnification, with such short depth of field, it is very difficult (
3. Composition, composition, composition
When you shoot e.g. a portrait, it's easy to be bit more lax. As long as you get a nice, flattering expression from the person you're photographing, and the background isn't busy, you got it. But in the micro world, every detail counts! 1cm closer to one side or the other, half a hair shorter depth of field, can make it or break it. Again, if you use a stationary subject (now you probably begin to see why it's so important in the learning process!), it's easy to think things through. Remember all the things we said about composition, and try to apply them here.
4. Experiment with light
If you have an external flash, use it! If you don't, get one! Seriously, an external flash (or more) should be in every photographer's bag. The idea is to fire these remotely. If you can't afford anything more expensive, get a simple slave flash (small ones sell for only a few bucks), and voila! You can trigger it with your camera's flash (just remember to set it to manual). You can get all sorts of fun shadows and dramatic lighting, that greatly affect the mood of a macro photo
 |
| An external flash can do wonders for your macros or close-ups |
5. Quick-n-dirty bonus tips for outdoors/moving subjects
Yep, my 5th tip is actually a collection of tips about moving subjects. After you practice indoors and with stationary objects, you will surely want to try outdoors. Here's a few things to keep in mind:
- Anticipate action
If you chase flies and bees, you will get frustrated. Try instead to anticipate their moves. Learn their habits. Bees will be attracted to certain flowers. Find a nice sunny spot where you see plenty of them buzz around. Then focus (metaphorically and literally) on an attractive-looking flower. Sooner or later, a bee will buzz around it. Be(e) ready! - Fast shutter speed and ample depth of field
You will need plenty of light. Or high ISO. Or both. But make no compromise. Focus is crucial, and so is shutter speed. - If it's windy, forget it.
Honestly, it's not worth it. A slight breeze will be OK, but if you try to take macros of flowers or insects even in moderate wind, you will soon realize it's a thoroughly frustrating procedure. - Be patient!
Finally, the most important piece of advice: Be patient! Rome was not built in a day, and the same applies to macro photography - perhaps one of the most demanding kinds of photography there is. Be prepared for a lot of frustration before you get your masterpieces!

I've been following your blog for some time now and love your economical, practical, no nonsense approach to photography. I read that you use the Nikon 105mm f4 ais for macro work. I actually purchased that lens at your recommendation and plan to purchase a couple of others that you recommended in your top 5 list. I wanted to ask are there any secrets to using the lens? I have it on a Nikon d40 and am not getting pictures as great as the ones you posted. Any tips you can provide are helpful. Thanks.
ReplyDeleteHi, and thank you for your comment. Great to hear you enjoy reading my blog, I appreciate it. As for the 105mm f/4 and macro tips:
ReplyDeleteAsk yourself, in which way are you dissatisfied with your photos? Are they not sharp? The D40 doesn't offer you metering with AIS lenses, but that isn't a problem with stationary subjects. I strongly suggest you begin there (i.e. stationary subjects, controlled conditions). Set your camera on a tripod, select an aperture between f/8 and f/11, and focus carefully on your subject. If the camera is on a steady tripod, you don't need to worry about shutter speed. Make sure the ISO is at 200 (turn Auto ISO to off), use the 2-sec self-timer (to avoid shake brought by pressing the shutter button). If you want to control the exposure entirely with a flash, it (the exposure) is controlled entirely by the aperture (and the ISO value; if needed, you can use a higher ISO value to adjust exposure).
If you are not satisfied due to other reasons (e.g. color reproduction, contrast, etc.) that is irrelevant of lens and camera, and we go to the post-production (i.e. Photoshopping) field. Most of my photos straight out of the camera look "normal". It's the post-processing that does the trick, and that comes through experience - and by reading blogs like mine ;)
Feel free to post a link to an example photo if you want, I could take a look and give you a more specific opinion.
Thanks for replying. It may be a focusing issue that I need help with. It makes me wonder if I should've gotten the 55mm 2.8 or 3.5 ais micro instead. I would love your opinion on a particular image, but I don't have anywhere to post a link. Can I email the image to you?
ReplyDeleteThere is no difference in terms of focusing between the 55mm and the 105mm. If anything, you need to get even closer with the 55mm to achieve the same reproduction ratio - hence, the 105mm is far more convenient. Follow the advice on this page (stationary subjects).
ReplyDeleteIf you want to email me a photo, you can use worldcupgoal2002(at)yahoo.com