 |
| This is the effect we will be creating |
1) You will need two photos showing tree barks or other similar texture - if you don't have your own, search for some on the public domain of Flickr or other service. The images must be the same size with your own image (or bigger, in which case you will have to crop/resize them. In any case, they must cover the entire surface of your own image).
2) Open your image. Then, paste the bark photos you got as layers. Uncheck the "eye" on the layers menu from the top one, so that it doesn't bother you; we'll work with it in a while.
3) Duplicate the visible tree bark layer. I set their opacity at 50% and blending modes Multiply and Color Burn. Feel free to experiment with both.
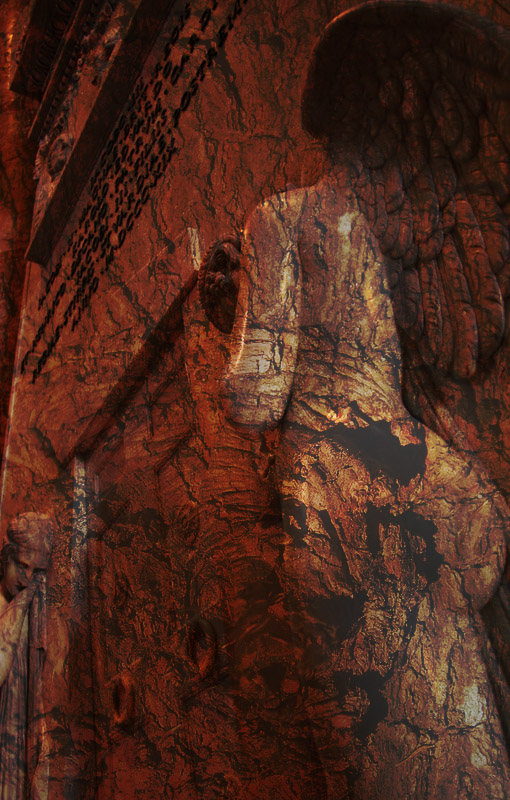 |
| At this point, your image looks something like this |
4) Create masks for both of them, and using the black brush, remove some parts of the image. I prefer using masks instead of the eraser tool, as it's easier to bring it back if I change my mind. Remove either randomly or e.g. selective shapes. You don't have to be accurate.
5) With the top visible layer selected (that is, the top of the two duplicates you dust worked on), click the "Create a new group" icon on the layer menu. Then, drag & drop the two layers you were playing with into it.
6) Select the Group icon, then add an adjustment layer > Curves. We're using the Group option so that we can affect both underneath layers with one curves adjustment layer
7) On the curves window, select "red" channel and drag the curve bit upwards, so that the image gets reddish. Similarly, on the "blue" channel, curve it downwards so that it gets yellowish
8) If needed, experiment with the adjustment layer's opacity to control the color effect.
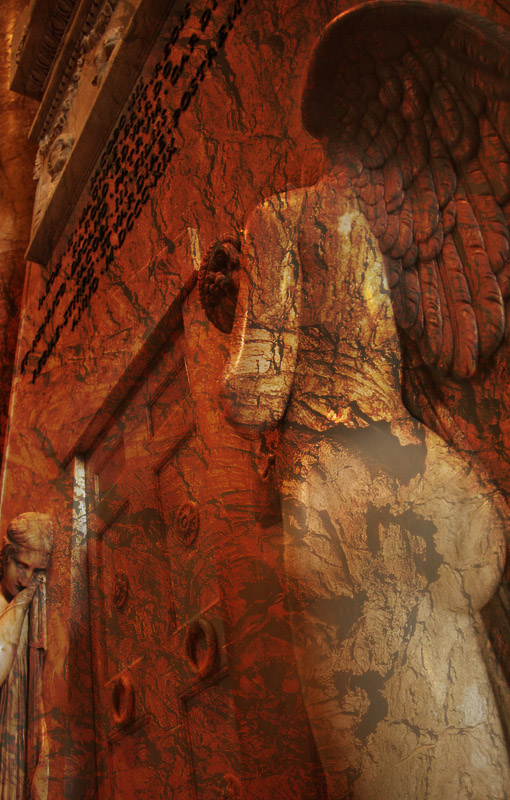 |
| The image now looks something like this |
9) Repeat the procedure above for the other tree bark image. I use two images (and two layers for each), but nothing stops you to experiment with even more texture layers. Adjust opacity on all layers, of both groups, to tweak the overall effect.
10) At this point, if you want you can go to the original layer (your original image that is) and adjust the saturation - by reducing it (even rendering it an entirely black and white image) you control the effect. You can also adjust the curves or selective dodge & burn. Experiment
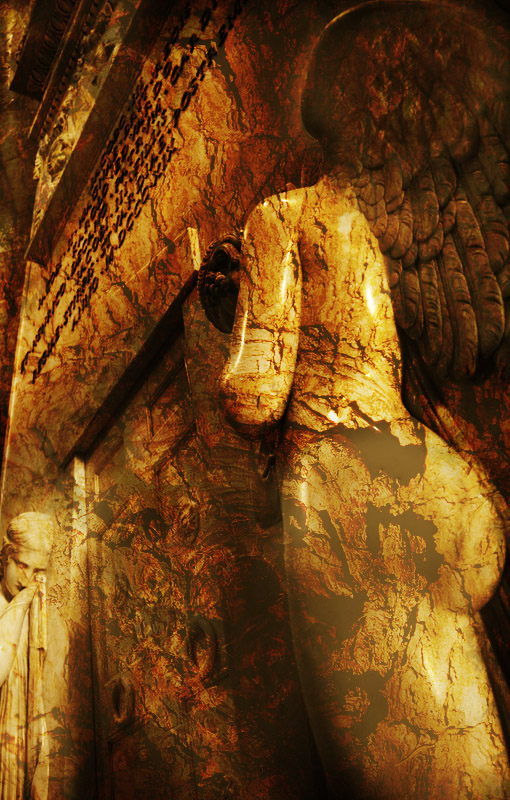 |
| After these adjustments, we get this kind of image |
11) The basic effect is concluded, but we have couple of more things we can do. Add a new layer and select "Overlay" as the blending mode. Then pick a smudgy brush (that is, not the standard circular one, but one of the other, more stain-like), brush opacity 50% and "Color" as the blending mode - Warning, NOT the layer blending mode; I'm talking about the brush's opacity & Mode. Pick a red color, and apply couple of blots here and there.
12) Optional fog layer. Add another layer, pick a standard brush, set the opacity (of the brush) at 50%, and brush mode select "dissolve". Pick a white color, then quickly draw some horizontal lines across the frame. Apply Gaussian Blur (I used radius 30 pixels), and you're done!
 |
| FINAL RESULT |

No comments:
Post a Comment