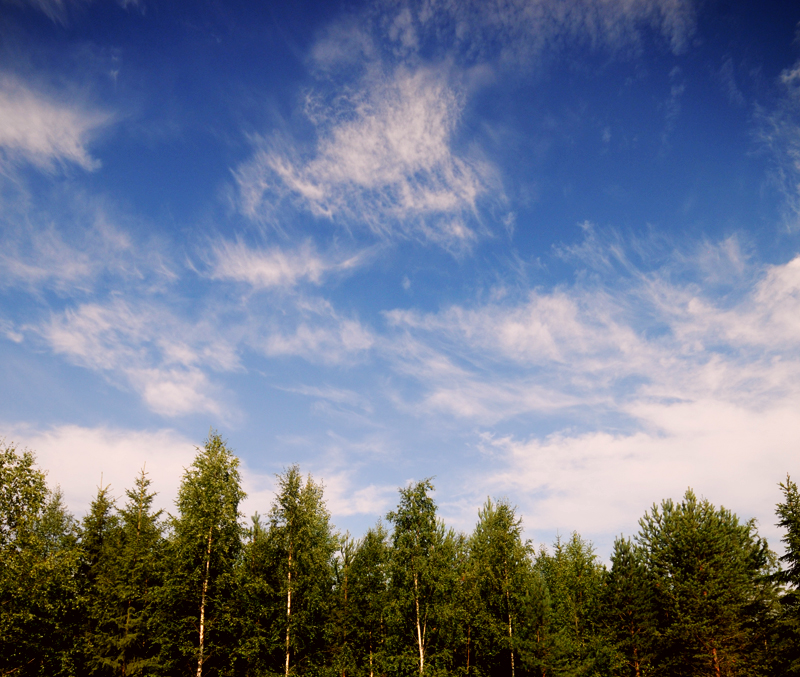
So today we'll be seeing the simple but powerful steps that turn an image from this:

into this:
It literally takes 5 minutes or less with Photoshop (or a similar program), and it should be a procedure everyone should be familiar with. The top image is something I see so many times in the images of people who are dissatisfied with their results, and even believe they need another camera or lens! Nothing could be farther from the truth - also take a look at my article on whether a new camera or a new lens makes sense
1) OK, so we begin by opening the image. Then, create a Curves Adjustment Layer. Block the shadows and increase the contrast as the screenshot shows (the exact tweaking depends on your individual image of course):
 |
| Click to Enlarge |
2) This is already much better, but we want to make the sky look even punchier. I created another Curves Adjustment Layer, with the adjustment the screenshot below shows. But this is something we need to limit to only the upper part of the sky, so I used a gradient on the layer mask, as you can also see below:
 |
| Click to Enlarge |
3) We could as well stop here, but I created a third Curves Adjustment Layer to make the reds just a bit more pronounced. Screenshot:

And final result:


No comments:
Post a Comment